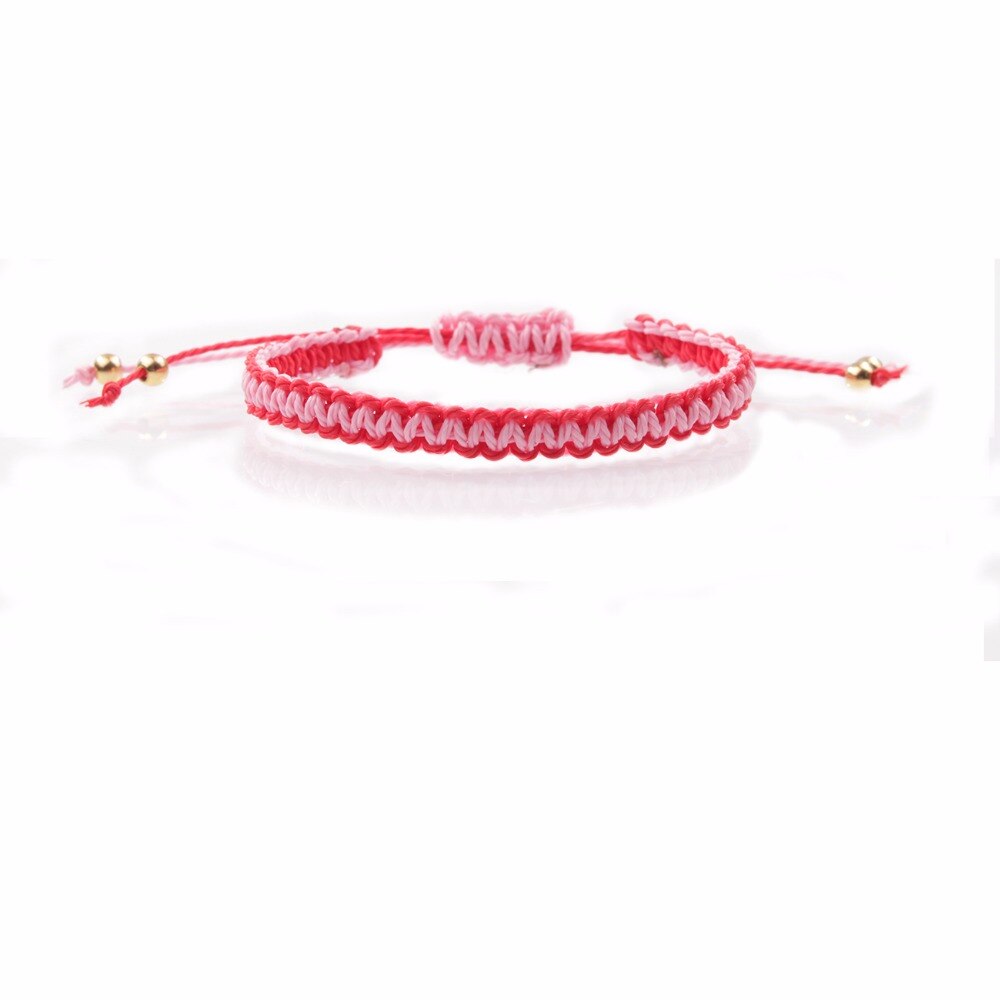
Square Knot Design Tutorial

You’ll need 6 strands.
Color #1: 2 strands (bracelet color),
Color #2: 4 strands (filler color)
1. Align your string, fold in half, and tie a knot ½ inch from the top.
2. Attach your loop underneath the clip, slide your 8 filler strands into slot #6, and then wrap around loom peg to hold them tight. Leave 2 strands of your bracelet color on the left of the filler strands and two on the right.
3. Take the string on the left and make a “number four,” going over your filler string and under your bracelet string on the right.
4. Take your right bracelet string, move it under your filler string and up through the middle of the number four. Pull left and right strands snugly.
5. Take the string on the right and make a “backwards number four,” going over your filler string and under your bracelet string on the left.
6. Take your left bracelet string and move it under your filler string and up through the middle of the number four. Pull left and right strands snugly.
7. Repeat steps 3–6 until your bracelet is long enough to wear.
8. Once your bracelet is long enough, braid the remaining strands and tie a double knot on the end.
9. Cut off the extra strings after the double knot, unclip your bracelet, and share with a friend!


0 Comments
There are no comments yet. Be the first one to post one!