
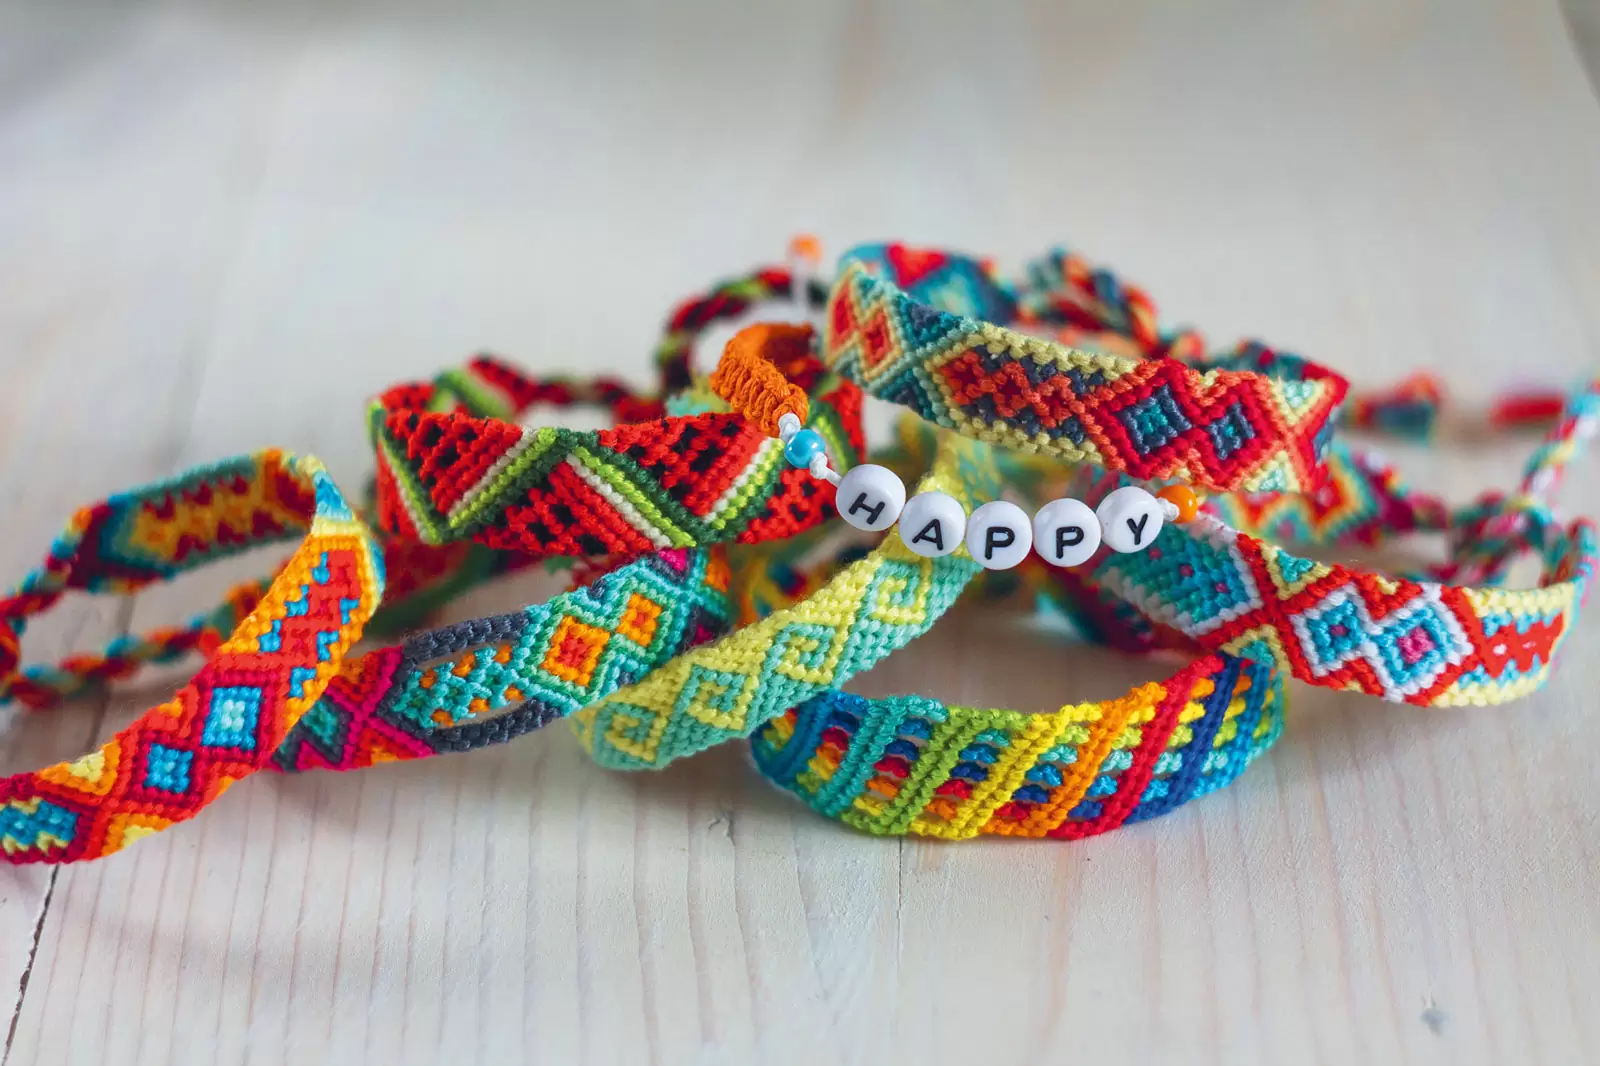
These friendship bracelets are colourful, easy and all you need to make them is embroidery thread, a pair of scissors and some sticky tape.
Few things can beat the feeling of giving – or receiving – a handmade present, especially when it’s for someone who’s always there for you with a hug and a smile.
These friendship bracelets are colourful, easy and all you need to make them is embroidery thread, a pair of scissors and some sticky tape. Friendship bracelets have been around for centuries and were first made by Central American Indians. Simple yet striking, strands of thread are woven together with macramé knots to form pretty patterns.
Most are based on the same simple half-hitch knot. The smallest pattern, a double chain knot, requires two strings, while the candy stripe can have three or more. There are hundreds of possible designs and they can be fun to personalise with beads, jewels, or metallic thread. Each colour has its own special meaning when used in a friendship bracelet. If you like, you could select colours that reflect the character traits of the person you’re making it for. According to tradition, you tie the handmade bracelet onto the wrist of a friend, who can then make a wish. They need to wear the bracelet until it falls off naturally, at which point the wish comes true.
When you’ve had a busy day or spent a lot of time looking at a screen it’s nice to relax and make something. An activity with your hands helps to slow your brain and lets you concentrate on the task in front of you. There’s so much going on in everyone’s lives that it’s often hard to shut it all out and be still, but making a friendship bracelet will give you that time while also allowing you to be creative and produce something beautiful. If you love this project, jump online and check out all the amazing designs that others are creating. It’s inspiring to see all the intricate patterns out there.
ALL YOU NEED TO CREATE YOUR OWN BRACELETS…
Two colours of embroidery thread (also called floss), scissors and a small piece of tape
- Cut two 120cm pieces of thread from each colour, place all four pieces together and fold them in half. Tape the folded end to your chosen work surface. A stiff board that you can move around would work well. Separate the threads so they are alternating colours with the same colour on the outside on the left and right. The two threads in the middle should be the same colour. We’ll now call all the threads strands.
- Starting on the left, take the outside orange strand and bring it across the blue strand to the right. Take it under the blue strand and over itself to make a knot.
- Pull the orange strand tight up to the tape. Hold onto the blue strand so it stays tight.
- Repeat Steps 2 and 3 to make a second knot on the same strand. This is a complete knot (you always knot twice).
- Bring the orange strand across to the next one on the right. This should be an orange strand. Follow Steps 2 and 3 to make a knot on this strand.
- Repeat Step 4 to make the second knot on this strand. Make sure you pull the knots tight.
- Make two knots on the next strand and stop in the middle. Pick up the outside orange strand on the right side and repeat the knots. You will reverse the direction here, take the orange strand over the blue one and bring the orange strand underneath the blue and over itself. Pull the knot tight and repeat with a second knot. It’s exactly the same as you have done on the other side.
- Repeat to make two knots on each strand. When you get to the middle you will meet the orange strand from the other side. Make two knots on this strand too. That’s the first row complete.
- Repeat Steps 2 to 8 to make the next row that will be blue, as the outside strand is a blue one. The colour of the knots will always be the colour of the outside strand as you start the row.
- There are a couple of things to remember when knotting: always do one knot at a time and pull it tight before making the second knot on the same strand. Always hold onto the strand that you are creating the knot on to keep it tight. If the knots are done correctly the strand you are using to make the knots will end up facing the next strand along. You’ll see the pattern start to appear as you create more rows.
- Make the braid long enough to fit around your wrist. When it’s long enough, split all the strands into three and plait to the end. Make a big knot in the very end. The plaited section will go through the loop on the other end and you can tie the bracelet on to your friend’s wrist with a secure knot.


