I have a habit of coming up with projects I want to do, running out and getting materials for it, and then carefully putting it away with my huge artillery of craft supplies… and completely forgetting about it. This is pretty counter productive until I come up with another project months later and remember that I have just the tool I need to get it done! A prime example is this small resin kit that I bought an embarrassingly long time ago with aspirations of making resin-domed jewelry. I may not have had anything I wanted to preserve at the time, but more likely is that I had a beautiful pressed flower or some other amazing piece that i did want to use, but was too scared to try a technique (resin) that I’d never done before on something I liked so much and risk an imperfect result. Its like how you get a bottle of really fancy body wash for christmas and put it on a shelf for “special occasions only” and then never use it. Luckily I’ve overcome my fear of using up art supplies and body wash, because hey, if you don’t use it then you don’t get the chance to enjoy it right?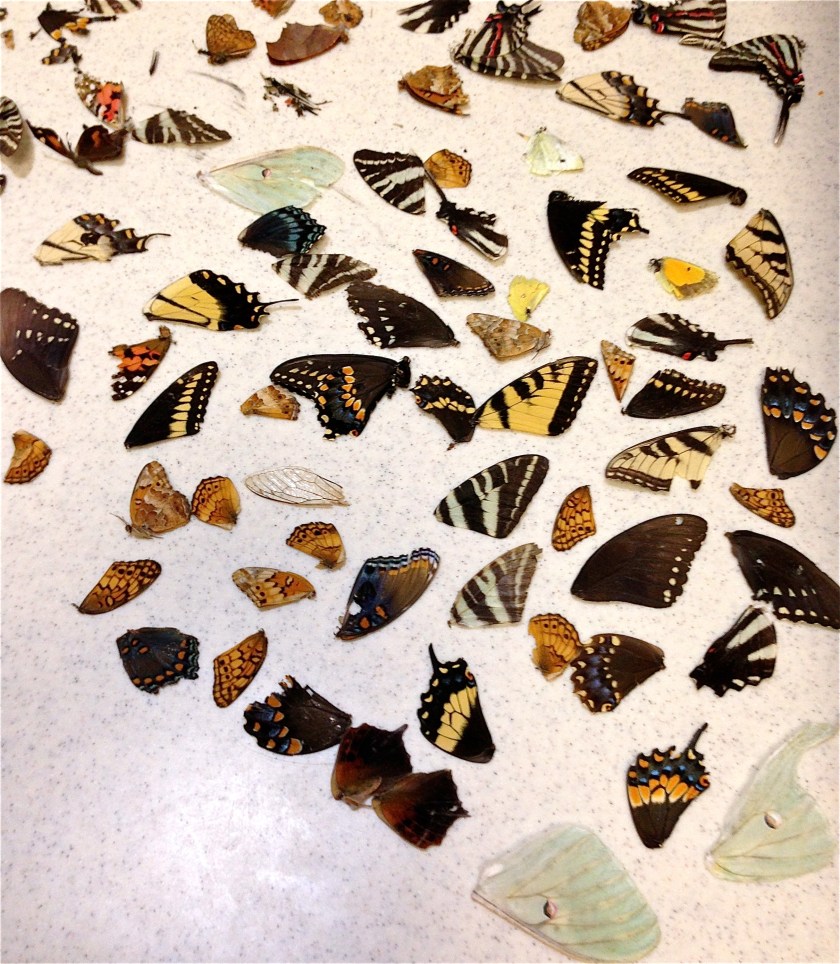 Anyway, about the butterflies! One of my good friends worked on a CSA farm last year and during his time there, found and collected quite a few wings from a variety of different types of butterflies. I would never condone killing butterflies just for their wings (which would be comparable to killing an animal for its fur in my opinion) but once it has lived a full and happy life and died naturally, I see nothing wrong with collecting its beautiful, delicate wings to give them a new life! He showed me his collection of wings the other day and I immediately remembered a gorgeous necklace I used to own made from a blue butterfly wing. I figured this was a perfect time to try out that resin kit that I had! He generously offered to let me experiment on them and keep some of the finished products. I ended up bringing home over 40 individual wings, some in matched pairs!
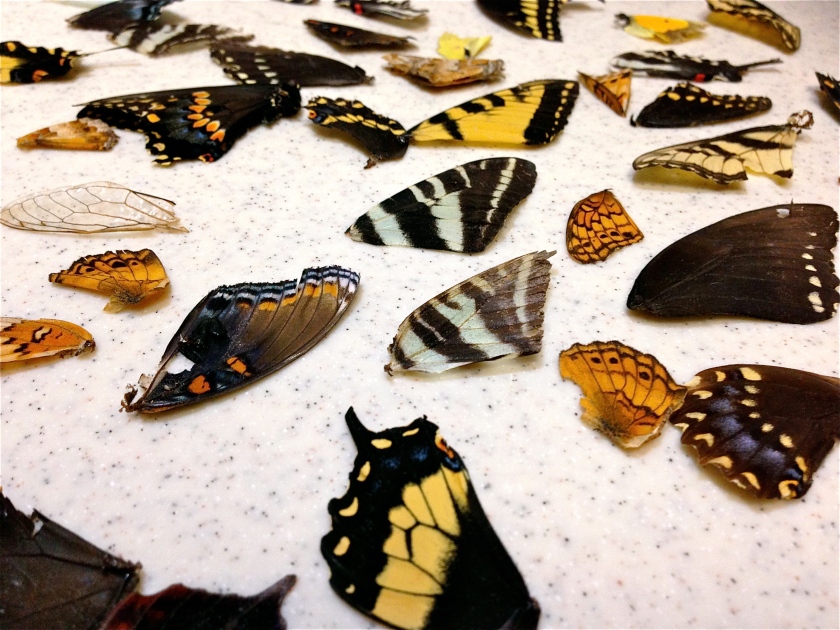 Not all of the wings are perfect and many have holes or tattered edges, as you would expect after a full life of use. This was actually kind of nice because I used the least intact ones for my practice runs without worrying about “ruining” them. After laying them all out and seeing what I had to work with, I started to get nervous. I guess I haven’t totally gotten over my fear of imperfect crafting. I read all the instructions for the resin, and realized that I didn’t have anything to use as molds; silicone is preferred, and I’ve made silicone molds before, but I didn’t have any on hand. I checked the internet for alternative resin molding products but I didn’t find much; the most promising methods seemed to be making a mold from cut and folded paper, or to simply laminate the wings. I decided to try both.
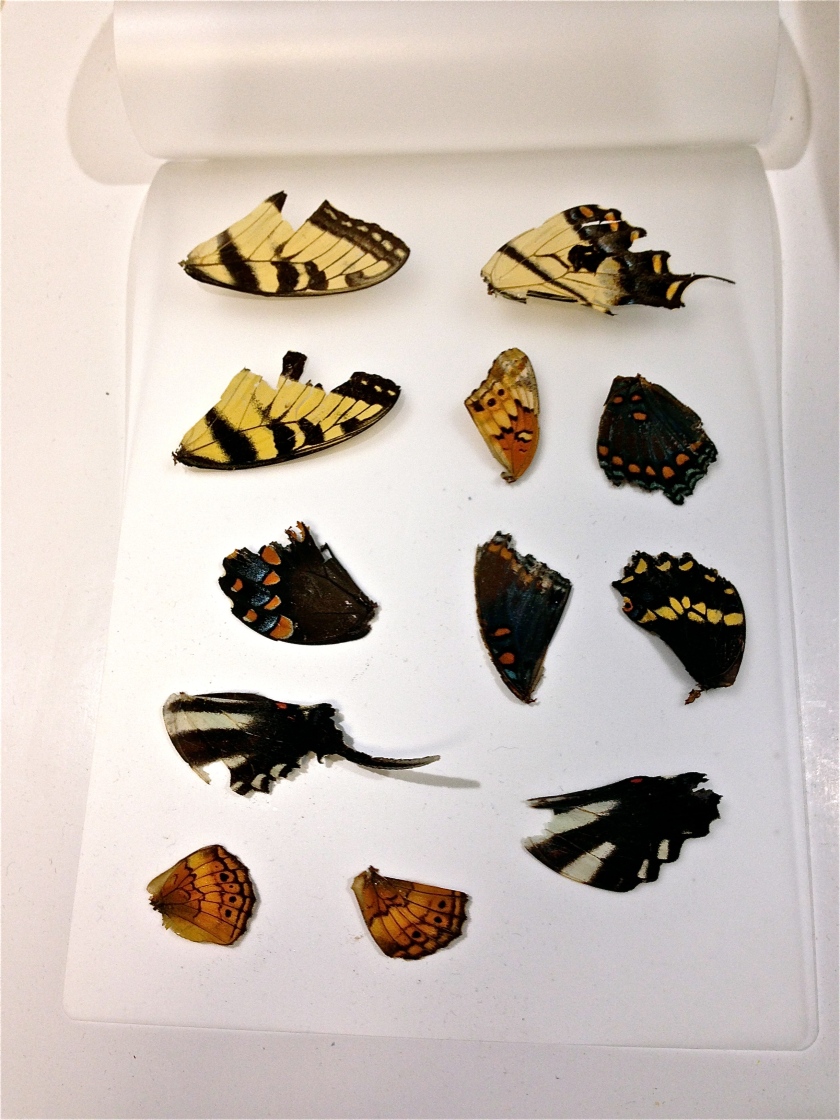 I started with lamination, using a Xerox Laminating machine that my grandma had. I laid a selection of wings out on the photo-size laminating plastic, folded the top page of the plastic over the wings very carefully, and put the whole thing into the cover booklet that comes with the machine. After the machine was pre-heated I simply slid the booklet through the machine and waited as it sealed my wings inside!
 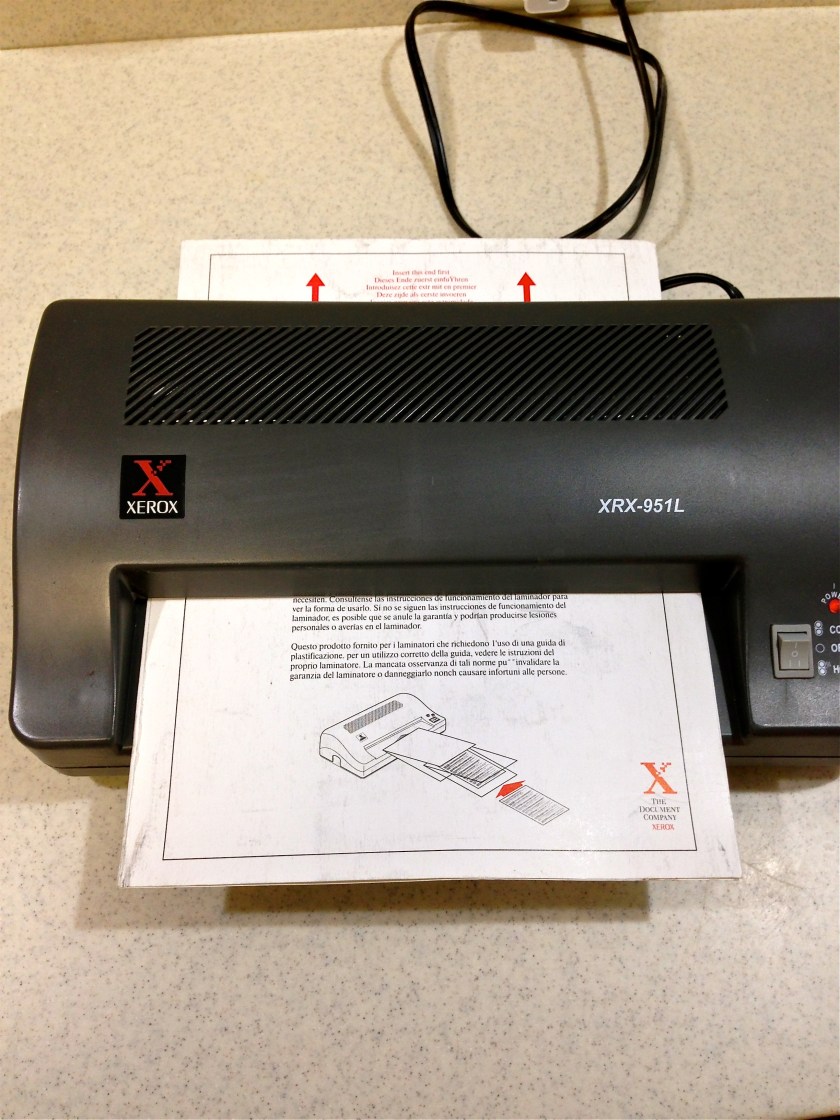 I give the finished product here a rating of about 6.5/10. The laminating paper sealed up pretty well, with only a few bubbles and pock marks between the two pages, which is irrelevant for me because I planned to cut the wings out individually. If you wanted to use the entire page without cutting out the wings this would be a very visible issue, although practicing with the laminating machine could potentially help. The wings are all sealed well with a small outline of un-laminated space around them, as is expected with laminating. They do have a slightly plastic look where air is trapped around the veins of the wings, but I think this is unavoidable.
 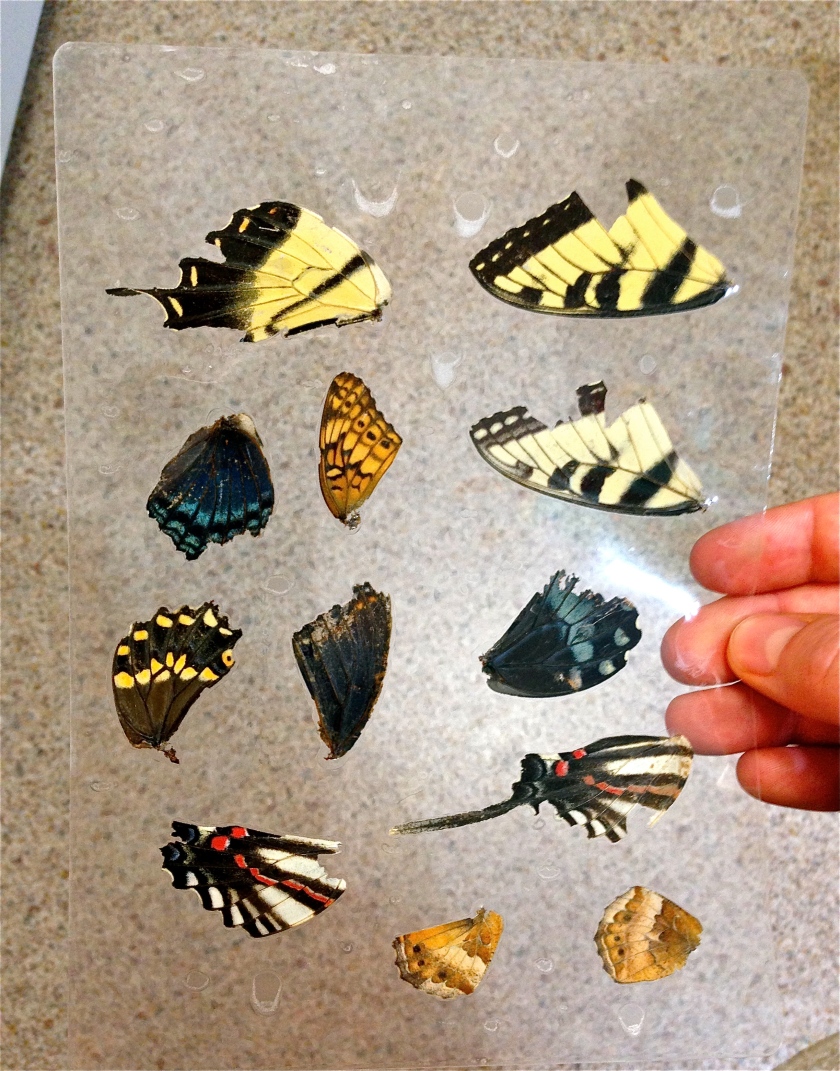 After cutting them out from the page, they are very light but sturdy. The only issue I have is that they can bend slightly, and because of the powdery coating on the wings, when bent the wing tents to buckle slightly inside the laminate, popping away from one side of the lamination plastic. It has consistently popped back to its original placement so far but I think with time this could cause the wings to deteriorate. After finishing laminating the wings, I moved on to the resin. I traced three wings on heavy card stock, 1 laminated wing and 2 un-laminated, leaving just a millimeter or so around the edges of each. I cut them out leaving another 2-3 millimeters around my drawn outline, and then cut slits into the paper so that I could fold it up to make a mold (I forgot to take pictures for this part unfortunately). I taped the insides of the walls to eliminate potential leaks and then mixed the resin according to the directions. I mixed only 2tsp total of resin and was able to fill all three molds perfectly with that amount. I started by coating the bottom of the mold with the resin, then laid the wings onto the wet resin. I positioned the wings with a toothpick and tweezers and scooped out the largest bubbles before coating the top of the wings with resin as well. Again I scooped out excess bubbles and tried my best to center the wings in the molds. And then I waited!
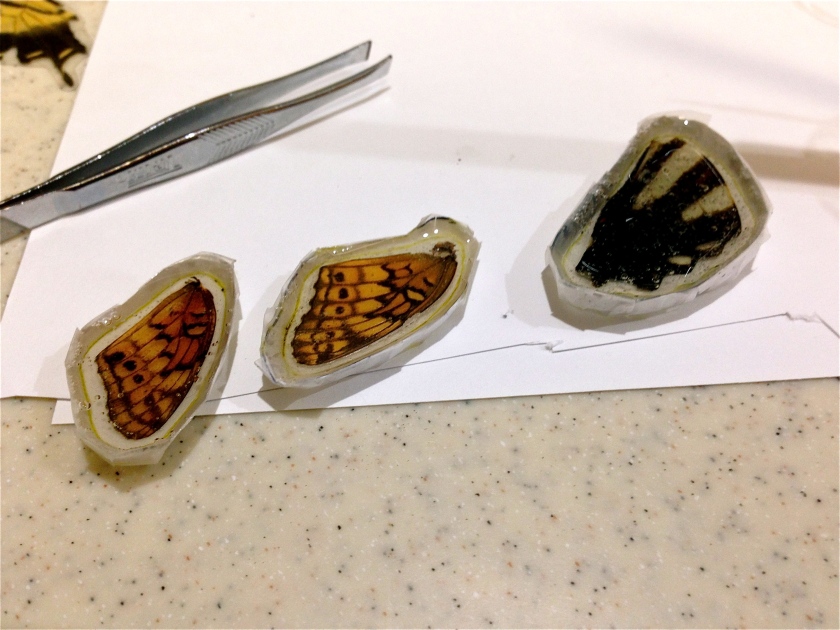 The resin gets about a 7/10 at this point. It is much more difficult to do than the laminating (which to be fair, is VERY easy), and it takes 48 full hours to cure. The time issue would be ok if I knew exactly what I’m doing but since I’m experimenting and only did 3 at a time, it drives me crazy to have to wait so long between tests! The paper molds are also just ok, they get the job done, but are tedious to make. They were easy to remove around the taped edges but I left the bottom untaped- big mistake! The paper on the bottom stuck very tightly and I had to soak it in warm water and then scrape it off, much like a stubborn sticker or price tag. The taped areas also are much smoother and clearer than the bottom now that the paper is removed. The resin itself is waterproof, fairly lightweight, and solid, if not a little bendy. It feels more like a thick rubber than I expected; I was hoping for more of a rock-hard finish. This could be because of a number of factors including the thickness of the piece (I made them only a few millimeters deep) and the possibility that I mixed the resin incorrectly, although I was careful to use even amounts of the resin and hardener. There are also some bubbles on the underside of the wings that I couldn’t see/reach with the toothpick when the resin was soft, although this seems unavoidable. The final issue with the resin is that it does remove some of the iridescence the wings originally had; the resin holds the color but the shine has dramatically faded. Overall, I think this project was a success although it didn’t turn out as beautifully as I had hoped. Glass would be the ideal covering, with a welded metal casing. Unfortunately I don’t have glass or metal working tools available to me! I’m going to continue experimenting with the resin as well as with the laminating and may even look for more options. Very thin plexiglass or plastic coverings might work although I have no idea how I’d seal the edges. I’d love to perfect the technique for this as I think the possibilities of found objects could be endless!
Published on January 21, 2015
Preserving Butterfly Wings


Part of the reason that I think your project did not meet up completely with your expectations, is that you man have rushed a few things. Believe me, I understand. I have trouble being extra patient when working on something that has me excited. When making your mold, you need to seal it, which you know, but you also need to slow it down, and only attempt one side at a time. First putting the wing down on a non stick mould, then mixing your first batch. And slowly pooring the resin into the lowest part of your mould. Allowing the resin to raise up, and slowly engulf the wing. A long poor, from a higher elevation will minimize air caught in the mix, which will dull your final results, or give you big headaches when trying for a special look. Then alow the resin to dry.( a vacuum chamber, or small low pressure area, can cleanse most of the air that will inevitably get mixed into your resin when combining the two parts.) Then, once dry, flip the mould, and resin so that the in treated side is now up. Again, mix and poor from the lowest area first. Allow it to slowly overlap the wing, and top off your wings upper area. Once it’s leveled out, allow it to dry, preferably in an area where dust nor any contamination can occur. Once dry, carefully remove it. And clean it up with a knife on any areas that are a bit rough, and you should be looking at a much more brilliant result, as often it’s microscopic air bubbles trapped in the mix, that ends up interfering with it’s optical properties, giving it a dulled appearance. I’ve made my mistakes as well, but as long as you have good quality resin, and take your time; you shouldn’t have many more issues encapsulating anything you wish in resin, or any enamel using these tips. Hope this helps, and keep on crafting.
LikeLike
Wow! Thanks for such a great and detailed tip. I definitely have a habit of rushing things! As always though practice, and patience, make perfect!
LikeLike
I found my moth 3 weeks ago as the left side of his wings were fractured, so I brought him home & fed him.. One unfortunate morning, because of my annoying dad calling me a million times, I didn’t realize he fell.. Later when I looked for him, he was kinda squashed on the ground=(
He died.. I know it’s just a moth but he meant the world to me. During the course of it’s life, part of his wing came off & ive been keeping it safe ever since. Im glad I came across your page. Now I’ll know how to preserve it’s wings. I still feel so depressed and guilty.. Hope he returns to me someday…
LikeLike