DIY Backyard Giant Jenga
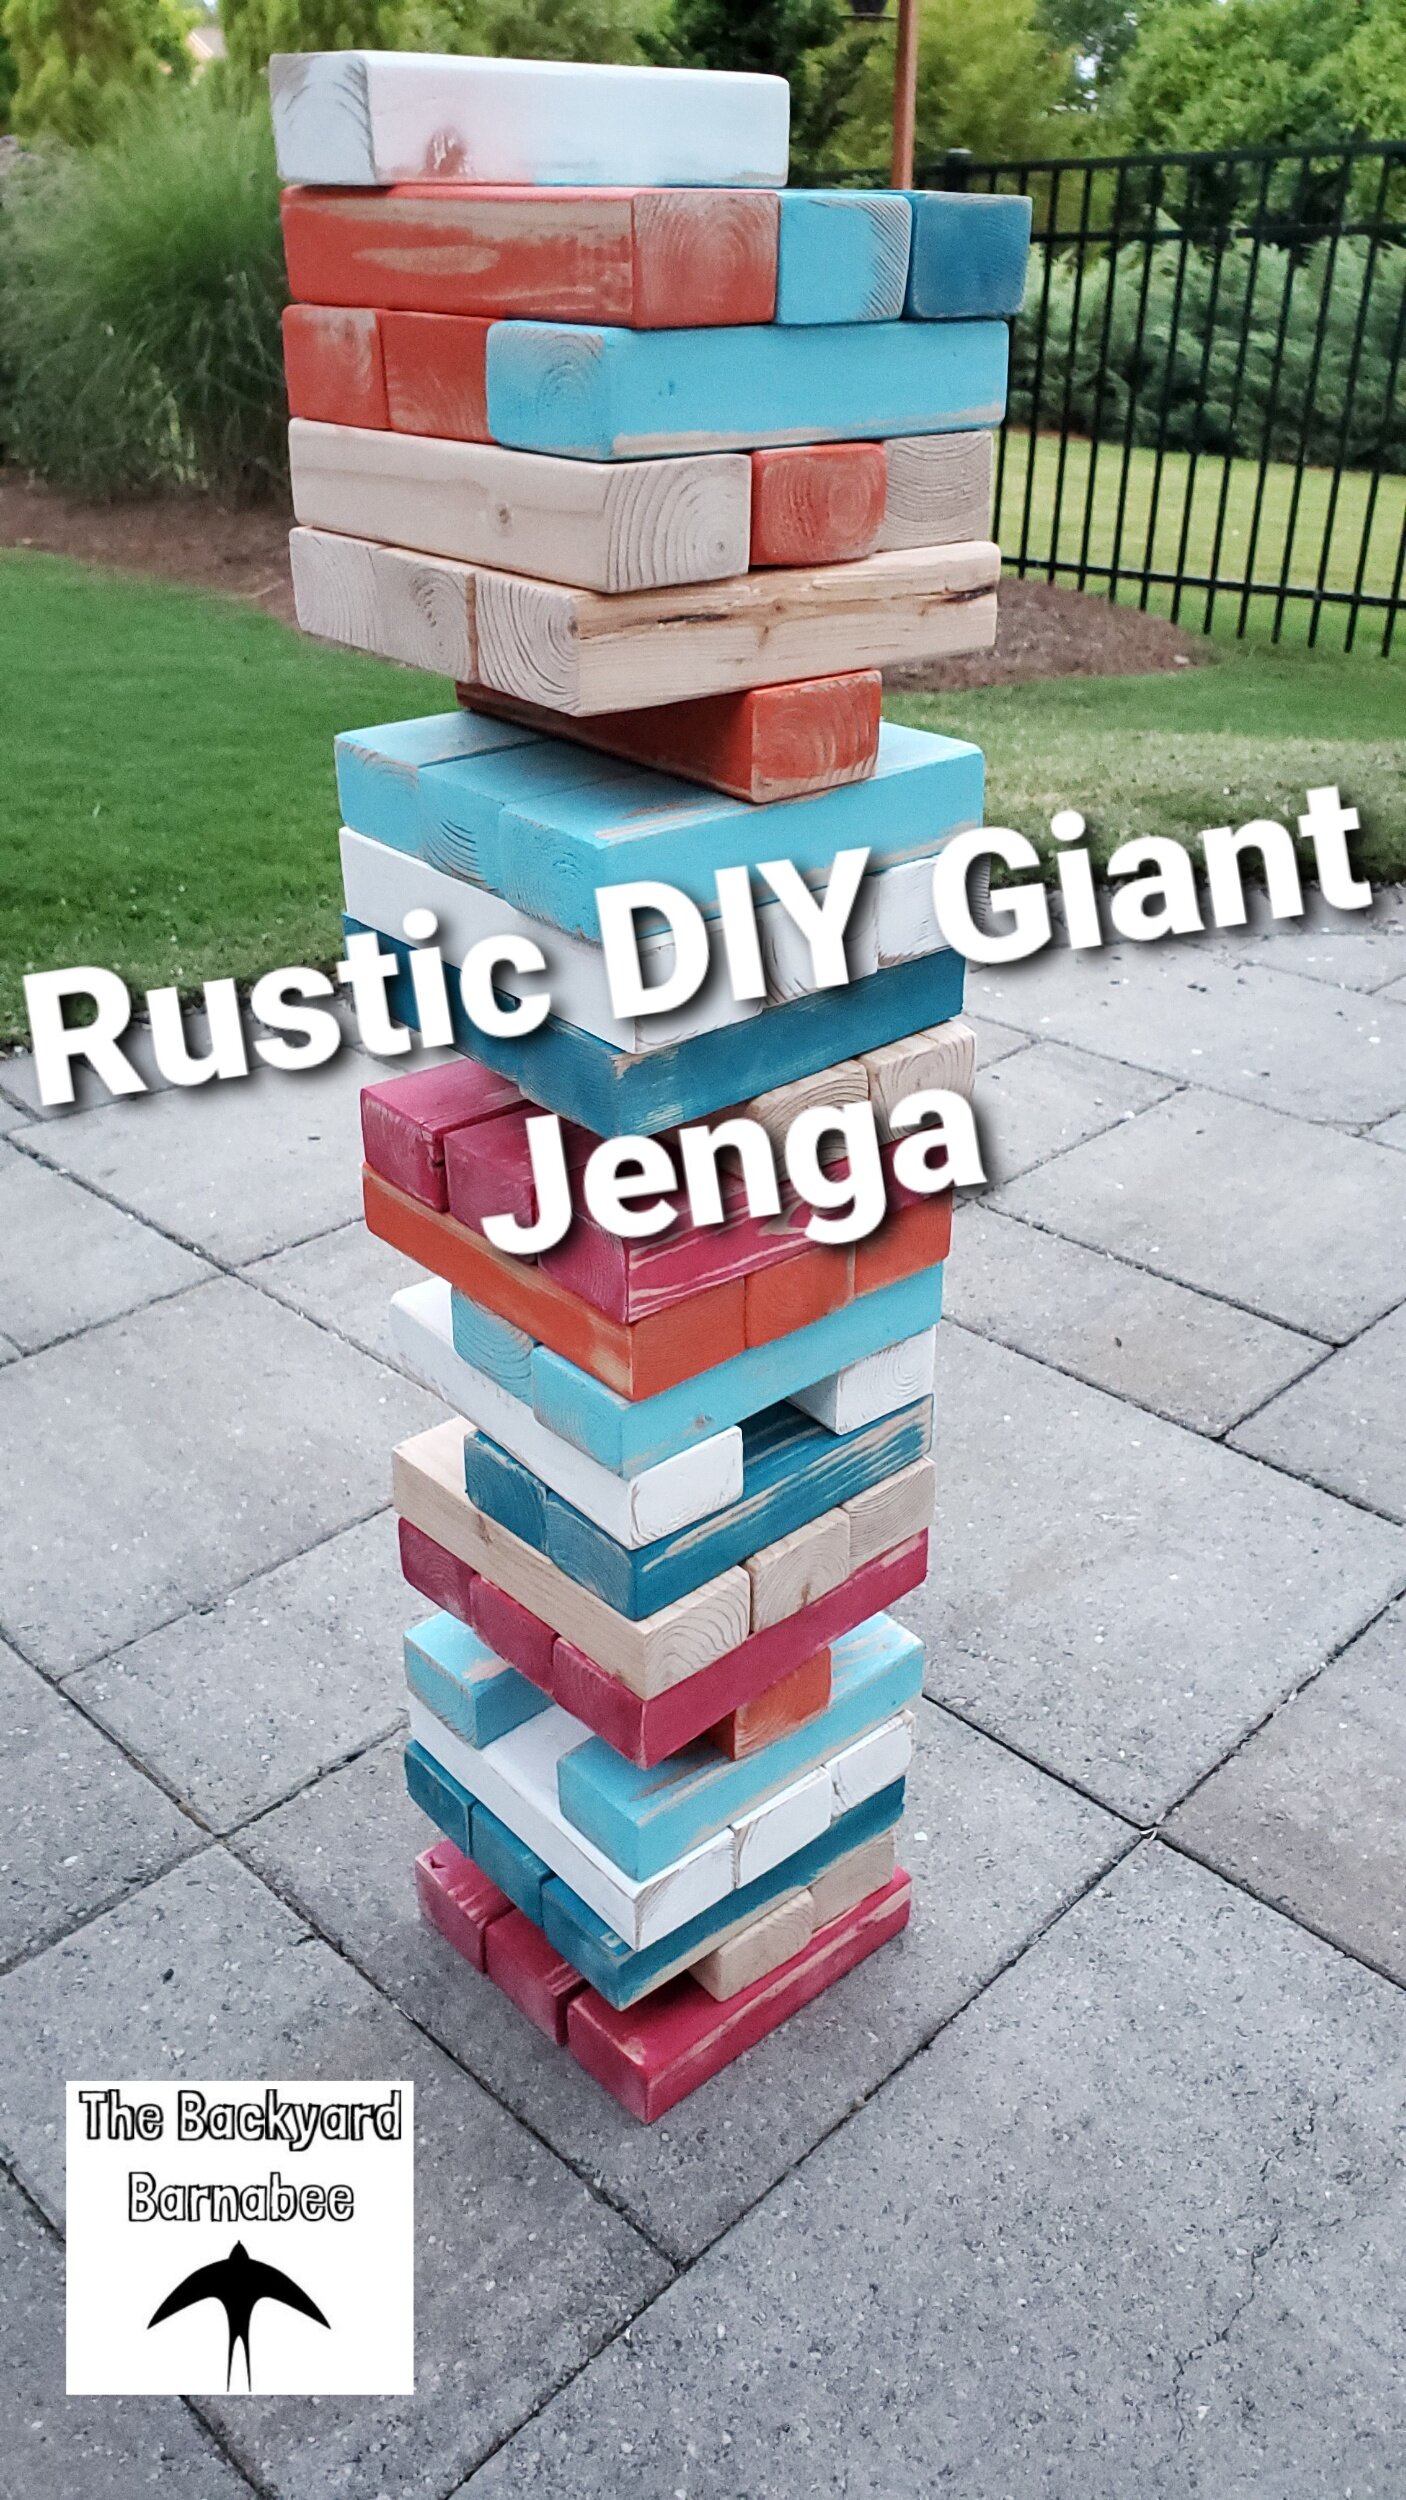
Super Easy DIY Jenga
Looking to add to your outdoor game collection with a fun and easy build? Build a giant Jenga game! This DIY project is fun to complete and takes anywhere from one to several days depending on your available time. Be prepared to spend a few pennies, get your vacuum ready and roll up your sleeves as I share with you the details on how to turn some framing studs from Home Depot into a winning giant Jenga game piece!

Everything You Need!
What Did I need?
Wood - (5) Prime Kiln-Dried 2''x 4''x 96'' Studs from Home Depot
Sandpaper - 80-Grit Coarse followed with 220-Grit Ultra Fine
Paint (optional) - Choices are entirely up to you however our Home Depot colors were Ultra White, The Real Teal, Pimento, Paradise Sky & Cherries Jubilee
Cutting Method - Miter Saw
Sanding Method - Orbit Sander
Imperfection Remover (optional) - Handheld Planer
How Much DId it Cost?
Roughly $50, which does not include the saw, sander, sandpaper or planer. To be honest when I was checking out at Home Depot, I thought it was going to be a bit cheaper! Giant Jenga games on Amazon are not too much more expensive however the little cans of paint ended up being the most expensive part! If you forgo the paint though and already have the power equipment, this is a MAJOR cost saving project than buying it new. Now then, enough money talk…let’s get into it!

Set Up a Block On Your Saw to Maintain Consistent Cuts
Measure Twice, Cut Once
The dimensions for a Giant Jenga piece are 7.5’’ long x 2.5’’ wide x 1.5’’ thick. In searching for the most ideal wood at Home Depot, I dug through their pile of prime-rated studs. The prime rating indicates the wood is of higher quality with fewer knots and issues but don’t skimp on this step! It is important to choose wisely. When you look at your wood choices, be sure to pull a piece fully out of the pile and eyeball the entire length to ensure it is not warped while assessing for knots, dents or cracks. For me, I purchased a piece that appeared okay at the store but once home and cut to size, look what happened…

Be Sure to Check Your Desired Piece of Wood at the Store Closely Before Buying
Once home with the cream of the crop pieces of wood, prep your saw with a stop block to enhance your efficiency when cutting your wood down to 7.5’’ long pieces. This may take a little finessing however it will guarantee consistency with your cuts. Aim for cutting 54 pieces which will make your stacked game right around 2 feet 2.5inches tall. Once the sawdust settles, you will want to address the width of your pieces. The width should be 2.5’’. Unfortunately for my miter saw, an individual cut would not fully cut through the 7.5’’ length of each piece so I literally had to chop each piece 75% of the way and then flip the piece over and make the final separating cut. Quite repetitive and I had plenty of sawdust to share. If you have a miter saw that you can chop and pull towards you though, the process should go much smoother.
The final step is to ensure each piece is 1.5’’ thick which is a piece of cake as a 2’’ thick stud is actually 1.5’’. Why the wood is not just marked as 1.5’’ thick beats me but if you know, feel free to drop a comment below!

Invert an Orbit Sander For Greater Efficiency
Sand Over and Over
Now that there is a pile of 54 pieces of freshly cut wood, it is time to sand them down. Before sanding, I had some pieces with a bit of an imperfect cut when trimming them to 2.5’’ wide. To address this, I used my hand planer to smooth out any saw marks which worked nicely!
Once pleased with all the edges, I wore little earplugs and used an orbit sander with an 80-grit coarse paper to easily eliminate any rough patches. If you have an orbit sander too, I would recommend you invert it and hold it between your knees as it not only speeds the process along but also reduces fatigue on your hands. I decided to sand outside and set our fan on high right next to me to blow away any sawdust particles. Feel free to check out my video of the process on my Instagram page!
After running all the pieces with the 80-grit, I swapped out my sandpaper to the 220-grit for an ultra fine finish. One more pass with the finishing sand paper and then I was all set for painting!

8oz Color Paint Samples

Ultra White, The Real Teal, Paradise Sky, Pimento & Cherries Jubilee
Time to Paint
When organizing the sanded pieces for painting, I decided to paint 9 pieces each the same color and leave one set unpainted. Using a matte finish paint, I painted each side individually and allowed it to dry before painting the next side. Doing this outside and allowing the pieces to dry in the sun was perfect timing. By the time I was done painting the first side of the 9th piece, the first piece I painted had already dried nicely and was ready for it’s next coat. This rotation prevented the wet paint from ever sticking to the cardboard.

Painting Each Side Individually Allows it to Dry Without Sticking
Project Complete, Sort of!
Once painted, all that was left was to allow them to fully dry for a few days! Once fully dried we stacked them all up and attempted a game but came to a quick realization, one that had crossed my mind when I started painting the pieces. The painted pieces were not as easily removable from the stacked column as the unpainted pieces were! To remedy the issue, I ran the painted pieces over again with the finishing sandpaper. This left a more distressed look but improved the ability to remove a piece from the column with ease.
And there you have it! A straightforward DIY project for around $50! Find a flat surface and stack your pieces for a fun, outdoor (or indoor!) game. Keep in mind though when the stack falls, it not only hits with force but can also possibly leave a dent in drywall. Be sure everyone and everything is well clear to prevent any injuries!
Do you plan to give this project a try? Have a question? Feel free to leave me a comment below!
Happy woodworking!
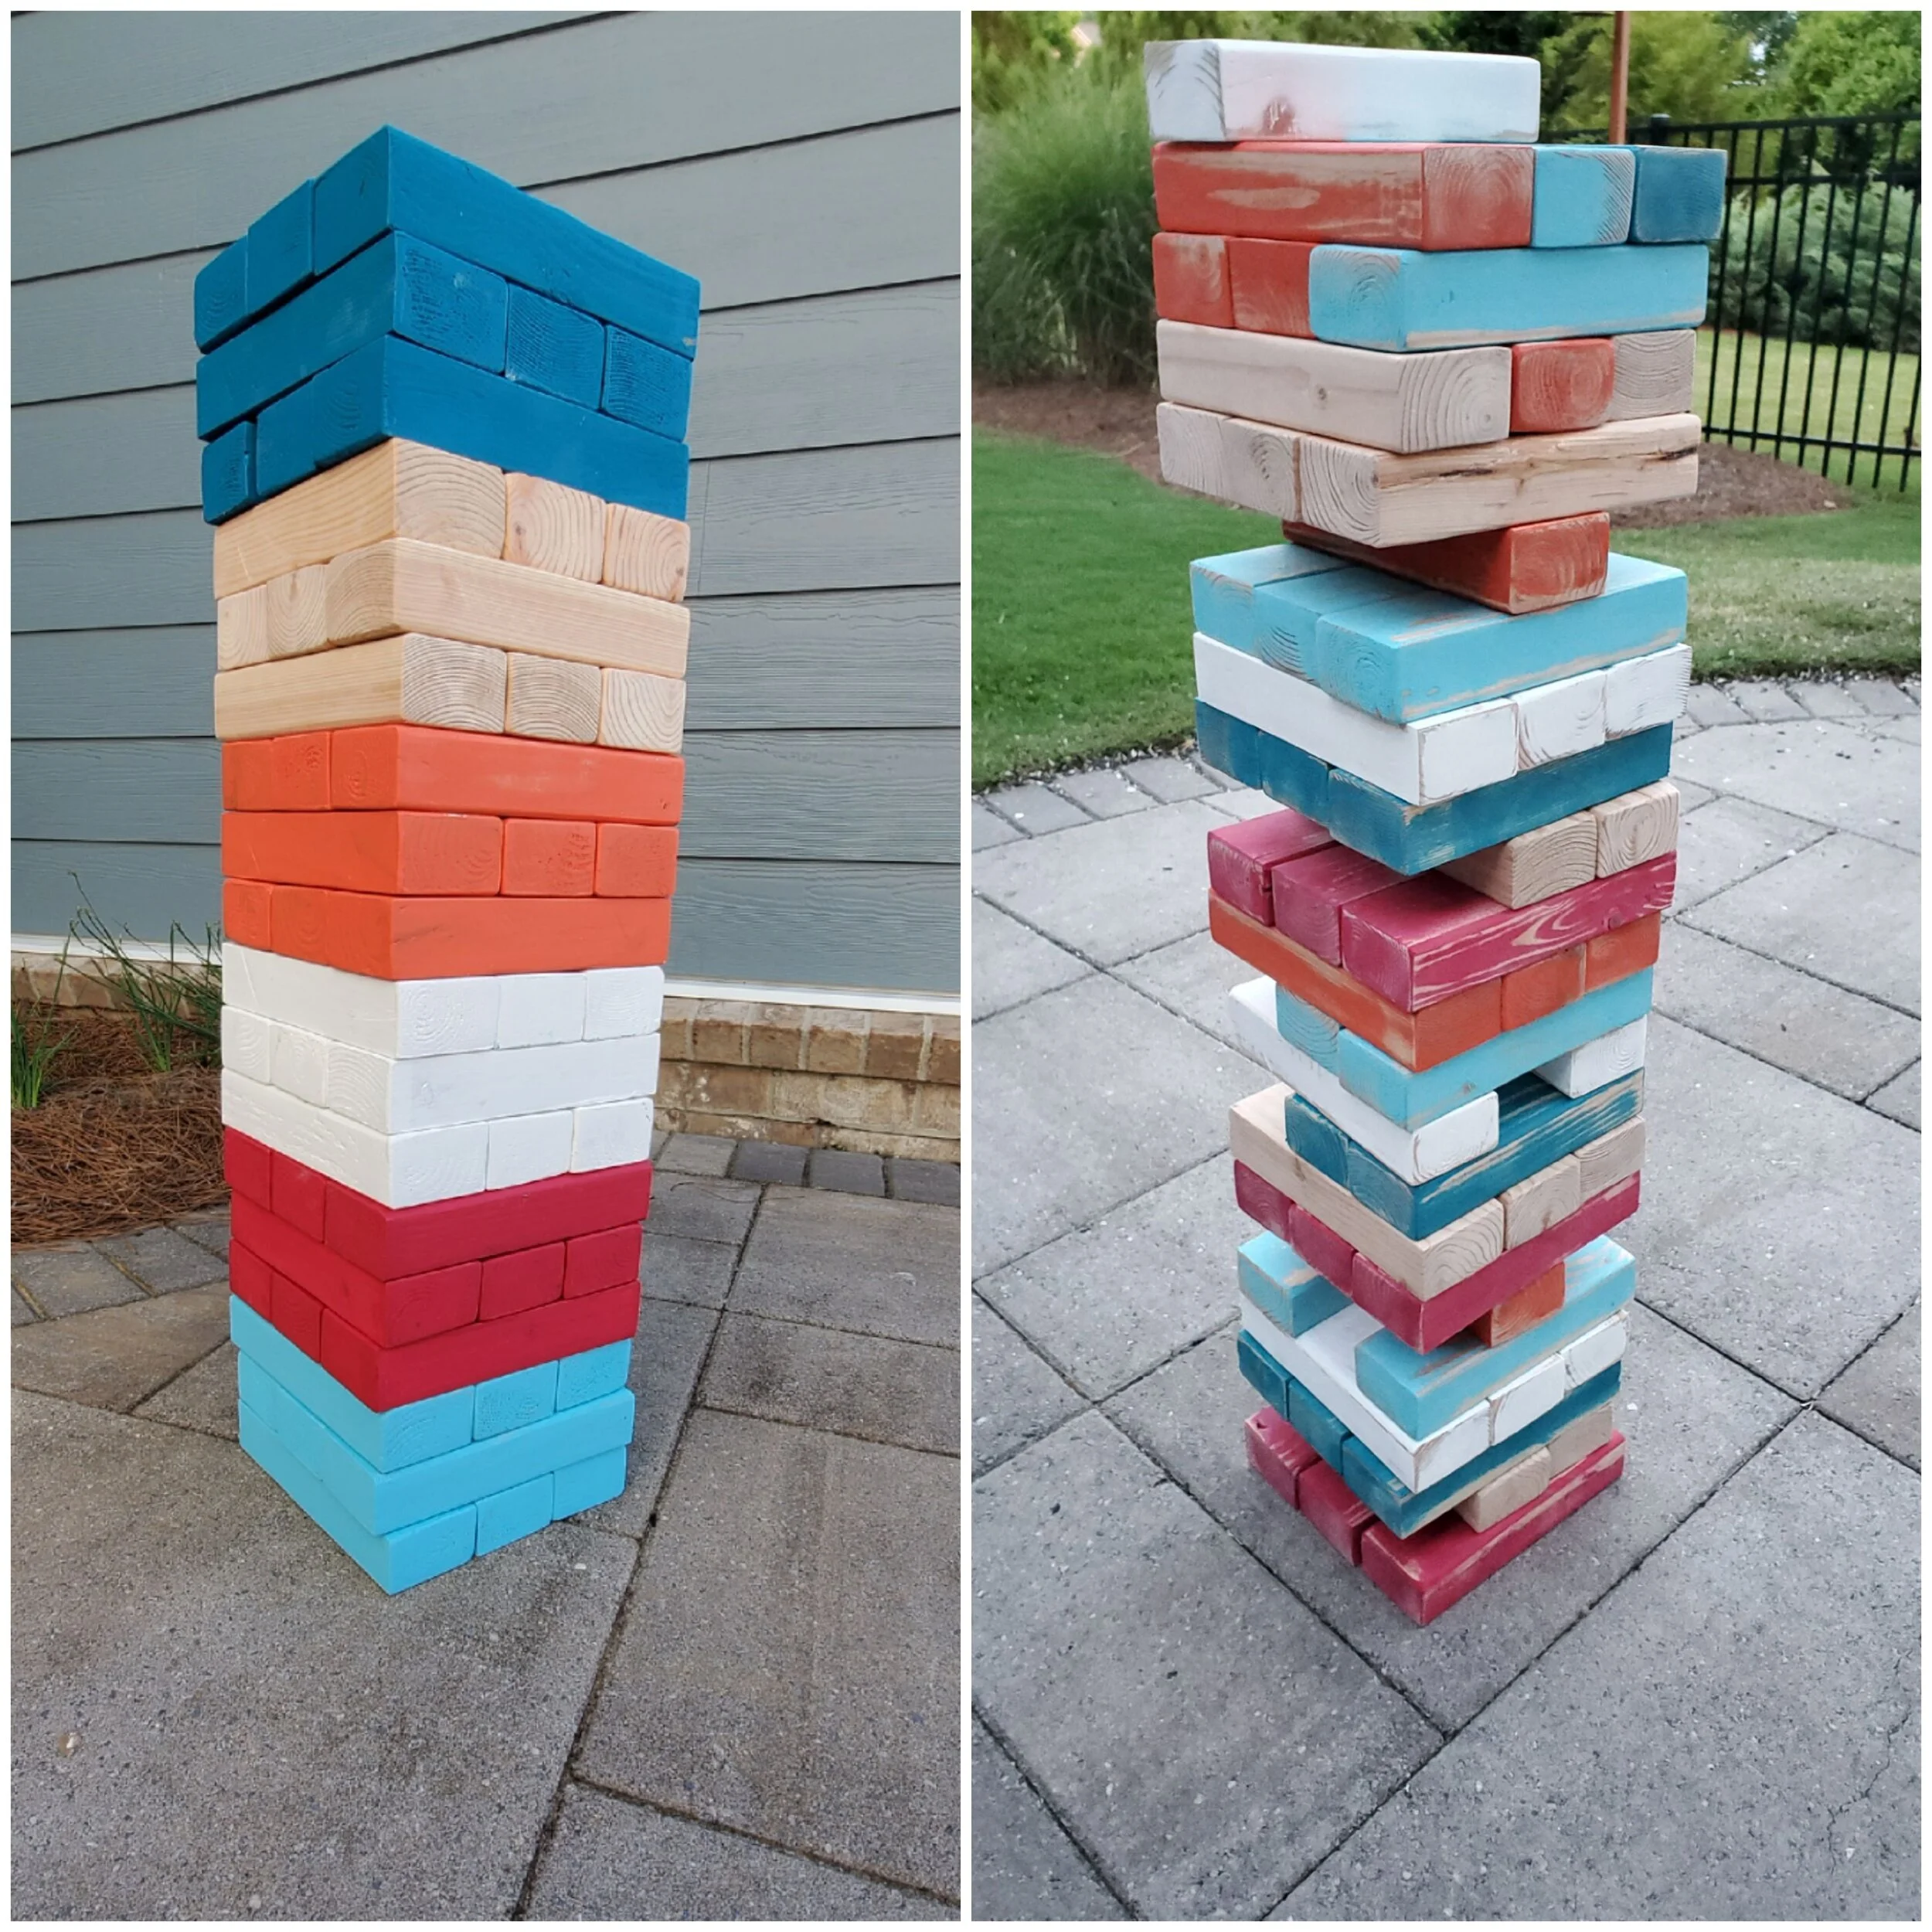
All Finished!